

How To Get Out Of Gael Tunnel
Some other of the Lands Between's many mines, Gael Tunnel is a straightforward niggling dungeon that'due south nevertheless a bit confusing when you start visit. Locked abroad from visitors on one side, Gael Tunnel must be entered in a particular fashion before its secrets are open to yous. In one case you're in, though, there'southward nada stopping you lot from plundering the place of its sizable stack of Smithing Stones [4].
This guide will take you through Gael Tunnel in Elden Ring. First, though, we need to accost the elephant in the room for people who accept merely spent time in Limgrave: How do you arrive? Fortunately, the answer isn't that far away.

All images copyright FromSoftware.
Elden Ring
Finding Gael Tunnel
Gael Tunnel is found on the border betwixt Limgrave and Caelid. There are 2 entrances:
- The first entrance is on the Limgrave side. Make your mode to Summonwater Village in the northeast of the region, then follow the cliffs east. At the bottom of the first slope you can turn back due west. Look along the cliffs to find the entrance to Gael Tunnel, and the Rear Gael Tunnel Entrance Site of Grace. Yous tin can run into Atomic number 26 Fist Alexander here, equally well, if you freed him on the way to Summonwater Village.
- The 2d entrance is on the Caelid side. Ride along the northern, eastbound road into Caelid, past Smoldering Church, until you come across a stone wall that appears to be on fire. Hop over the wall and y'all'll find the Rotview Balcony Site of Grace nearby, overlooking some ruins. If you go south along the rocks here you'll soon find a pocket-size encampment with some Caelid soldiers out front. Drop down behind the soldiers and yous'll have found Gael Tunnel.
It'south important to annotation that Gael Tunnel is only truly accessible if you get through the Caelid archway. There's a locked door in your mode if you go through Limgrave.
Gael Tunnel
Gael Tunnel
Upon entering y'all'll come up to two soldiers overlooking a precipice. Yous can sneak upwards and impale the ane that'due south continuing by launching him over the edge, then kill the one that's getting to his feet on your left. Lookout man that y'all don't fall off the border while fighting. Once they're gone, await down the left side of the ledge to see more than ledges below which y'all tin employ to find the Site of Grace. Exist sure to collect the Somber Smithing Stone [ii] that's sitting in a small side cavern on your fashion downwards.
Activate the summoning pool at the bottom, and so head down the mine shaft. At that place'due south a soldier ahead on a wooden platform, and some stairs beside him. A miner volition starting time walking upwards the stairs after a few moments, so backstab the soldier earlier there are two enemies. Take out the miner next.
Go down the stairs and straight ahead at that place will be a Gilded Rune [5]. The stairs on the left take you through the balance of the dungeon, and then ignore them for the moment and go correct. Kill the soldiers sitting nearby - one is off to the left, and is easy to miss - and so take on the Land Octopus straight alee. Grab the Smithing Stone [4] off of the wall on your left, then carry on downwardly the tunnel.
At the end is a large room filled with small State Octopi. This should be a sign that there's a much larger, more dangerous one nearby, and it's around the corner on your left. If you rush in and do a excursion of the room you can collect ii Smithing Stones [4], a Somber Smithing Stone [4], and a Cross-Naginata from the edges of the room earlier the larger Country Octopus has a chance to do much.
Head back to the main mining shaft and go beneath the wooden platform y'all were continuing on earlier. At that place are a number of miners toiling away hither, and if yous look to the left y'all'll encounter a soldier overseeing their piece of work. Just to the correct of him, sitting against a wooden support beam, is a second soldier with a bugle. If he sounds information technology the miners will all rise up in artillery confronting you. Kill the bugle blower before attacking the other soldier. You tin notice a Gilded-Pickled Fowl Pes behind some boxes near the bugle role player, and there are two Smithing Stones [4] on the walls.
Past the stairs and to the northwest is another soldier. Attacking him will trigger the 2 miners near him to stand up upward and become afterwards you. Yous should nevertheless kill the guard, as information technology will take the miners a moment to rise. Acceleration or avoid the miners, then acquit on downwards the tunnel.
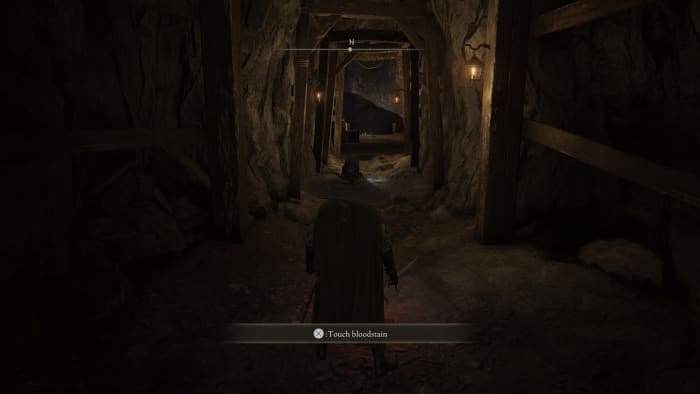
Alee is a soldier past a ladder. Backstab him over the edge, and then look downwards. Behind the ladder and a picayune to the left is another soldier, but waiting for yous to jump down. He'll blow a bugle and bring the nearby miner into the fight if you lot give him a moment. If you're careful yous can leap down and smack him before he knows what's coming. There's another Smithing Stone [4] on the wall downwardly here, and five Large Glintstone Scraps and five Grace Mimics on the ii corpses.
Follow the tunnel at the bottom of the ladder and you lot'll come to two doors, as well as a Smithing Stone [4]. Open the smaller door directly in front end of you first and you'll find the Rear Gael Tunnel Entrance Site of Grace, forth with i terminal slice of Smithing Stone [4]. This is as well where you'll find Alexander, assuming you're at the right point in his questline.
All that leaves is the double doors. Be set up, these lead to a nasty, fiery fight.
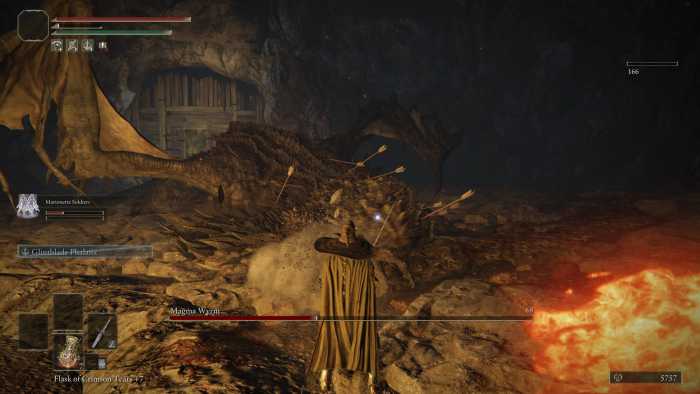
Magma Wyrm
Didn't look a dragon downwardly here, eh? Admittedly a petty closer to a normal lizard in appearance, the Magma Wyrm is a cruel, hot-tempered opponent, and you don't accept a ton of room to maneuver down here. Spewing lava and trying to hit you with a huge sword, the Magma Wyrm will turn its loonshit into a world of flame if you requite it too much fourth dimension to exhale. Hither are some tips for fighting the Magma Wyrm:
- If y'all're fighting the Magma Wyrm as a melee build y'all desire to get right into its confront and smack it until it falls down, assuming it'southward non moving around. The Magma Wyrm staggers without too much trouble, and its attacks are deadening enough that you lot should have time to make it quite a few good wallops. Stab it or smash information technology in the face up once it is staggered.
- If, by contrast, you fight at a range, and so stay at a range, aiming at its hibernate. The Magma Wyrm will try to follow y'all around, simply there's enough infinite - not a ton, but enough - to keep on its side and avert most of its attacks. If it starts to blitz at you, undo your target lock and run to the side with the most clearance. Resume burn once the Magma Wyrm is facing away from yous again.
- Regardless of your build, try to aim for the head. You'll do more damage and build stagger more quickly.
- Stay out of the lava. At all costs, stay out of the lava. Do your best to back away from the Magma Wyrm whenever information technology starts to spread the stuff around. If anything is going to kill you in this fight, information technology's the lava.
- Because the Magma Wyrm is and so large it tin be hard to see what information technology's doing when you're correct upwardly against information technology. Watch for subtle body movements if this is the instance to tell what it'southward about to do. In particular, yous want to annotation if the Magma Wyrm goes rigid for a moment, as this probably means information technology's about to perform a wide-ranging, sword-swinging set on that's difficult to avert. Get ready to roll the second the Magma Wyrm starts to move over again.
- Call in assistance. The Magma Wyrm is a tough opponent to tackle alone at lower levels, and a stiff summon that hits at a range can assist you lot even the odds a trivial. Try non to use anything that will wander around a lot, as summons are bad well-nigh stumbling into lava and dying.
You'll earn 7,500 Runes, a Dragon Centre, and the Moonveil for defeating the Magma Wyrm. You'll besides bring your time in Gael Tunnel to a close. That wasn't and so bad.
Source: https://levelskip.com/rpgs/Guide-to-Gael-Tunnel-in-Elden-Ring
0 Response to "How To Get Out Of Gael Tunnel"
Post a Comment